How to dye PMAGs
To dye sand-colored PMAGs, disassemble them, bring water to a near-boil, mix in Rit dye, and submerge the magazine bodies (not the springs). Check every 5–10 minutes — parts start taking color around 20–30 minutes, with the full process taking 40–60 minutes. Rinse in cool water to stop the dye, dry, and reassemble.
There are several reasons why you would want to dye your PMAGs. Maybe you use different magazines for different calibers, and having separate colors will help tell them apart. Perhaps you participate in competitions, and you don’t want other people picking up your magazines, mistaking them as theirs. Or maybe you just wanted something different and thought they look cool. Who am I to judge?
Personally, I wanted a way to differentiate my AR-9 magazines with EndoMags insert apart from my 5.56mm ones. The process was straightforward to do was decently impressed with the outcome. Even though I didn’t achieve the color, I was shooting for, but we will get into that a little later.
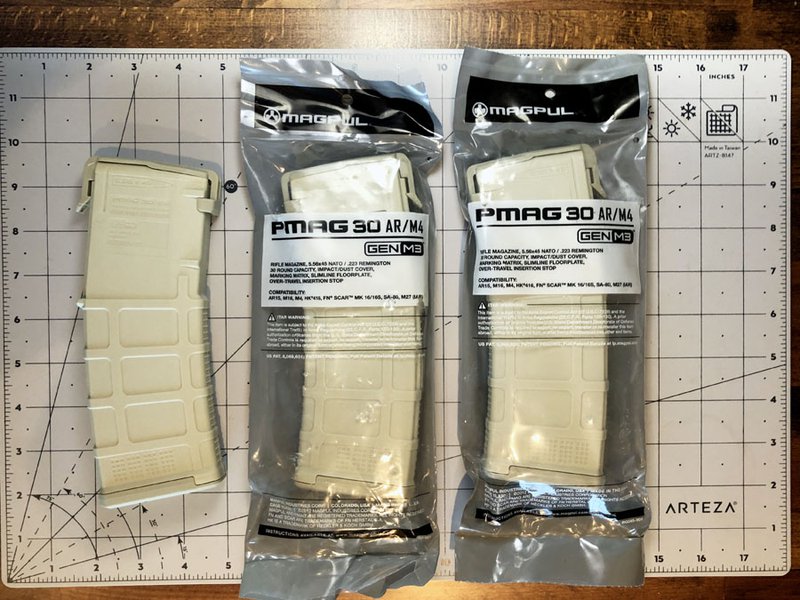
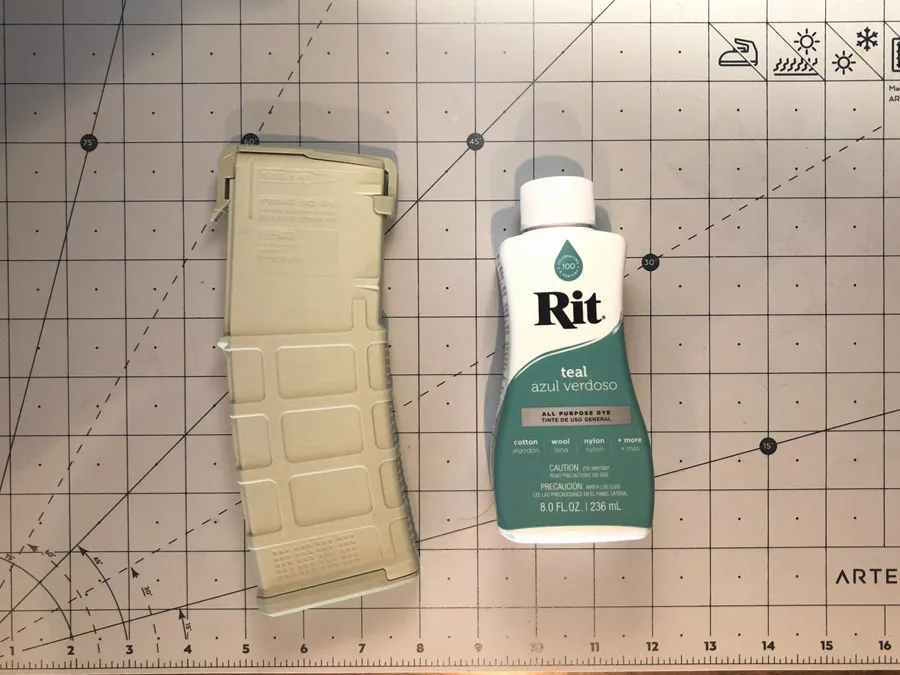
First off, you need to gather all of your tools and materials required to complete this. You will need:
- PMAG Sand Colored Magazines
- Rit Dye (your choice of color)
- Heat source (you will need to keep water near boiling for a prolonged period)
- Heat dish or tray big enough to cover the magazines completely when filled with water
- Tongs
- Bowl or a way to rinse magazines after they leave the dye solution
- Lots of Paper towels (cause this shit can get messy if you are not careful)
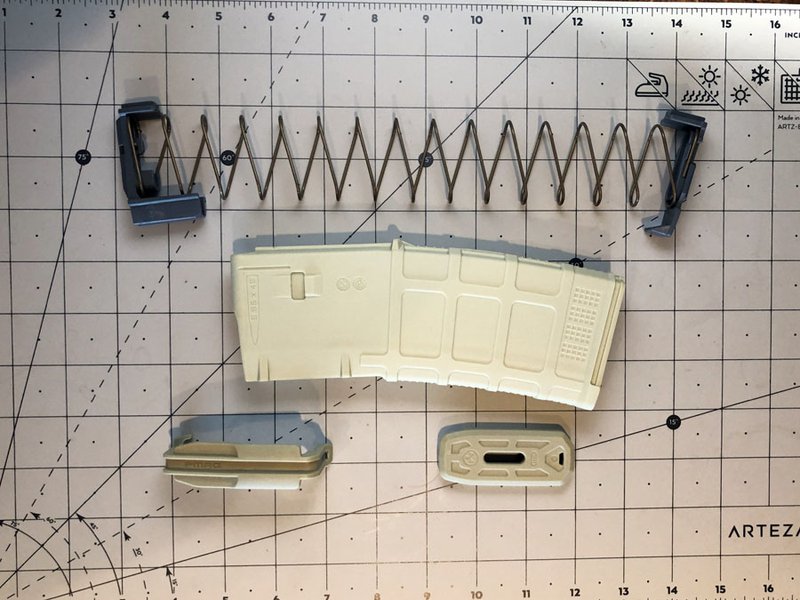
The next step is to disassemble your magazines. You want to keep your baseplates and the feed lip protectors separated during the dyeing process. Otherwise, you could have parts that do not get dyed. Place the springs off to the side as these will not be going into the dye solution. You want to make sure your magazines are clean from anything that might prohibit taking in the dye, such as dirt or oil.
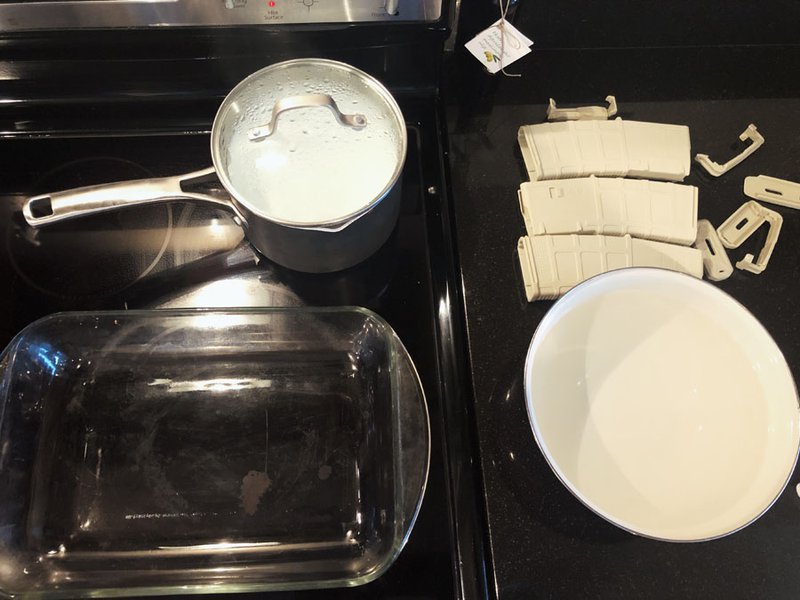
You will then want to bring water to a near rolling boil. You might have to get creative with how you do this, depending on what you are using as your dye solution holder. I chose to boil water in a pot and transfer to a Pyrex dish that would be able to fit all of the magazine pieces together. This is also a way to keep the Miss’s happy as you are not getting dye all over her fancy cookware. Another way to do this would be to get the aluminum trays and heat up the water in there.
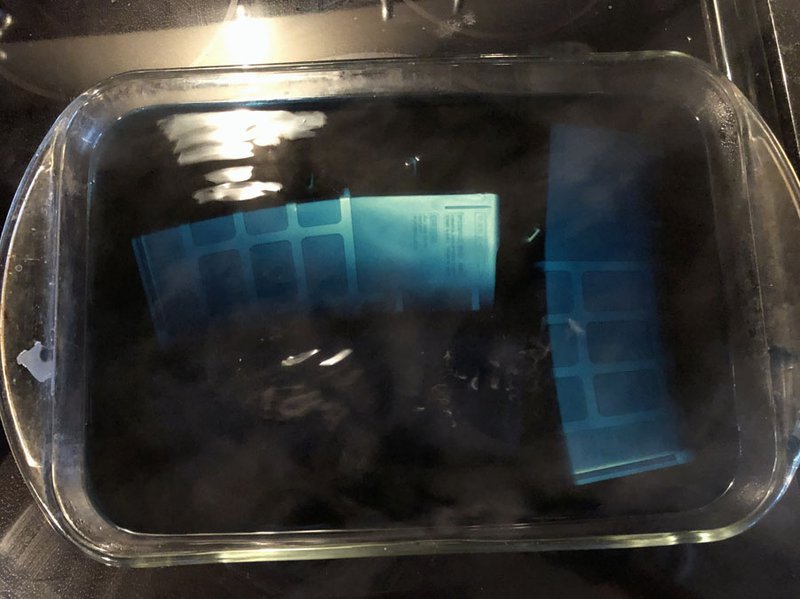
You will want to keep checking the parts every 5-10 minutes to review the desire of the color level you are looking to achieve. I noticed that the pieces really didn’t start to take the dye until about the 20-30 minute mark. The entire process can take anywhere from 40-60 minutes, depending on the level of color you are looking for. Just note that you can always go from light to darker but not the other way around.
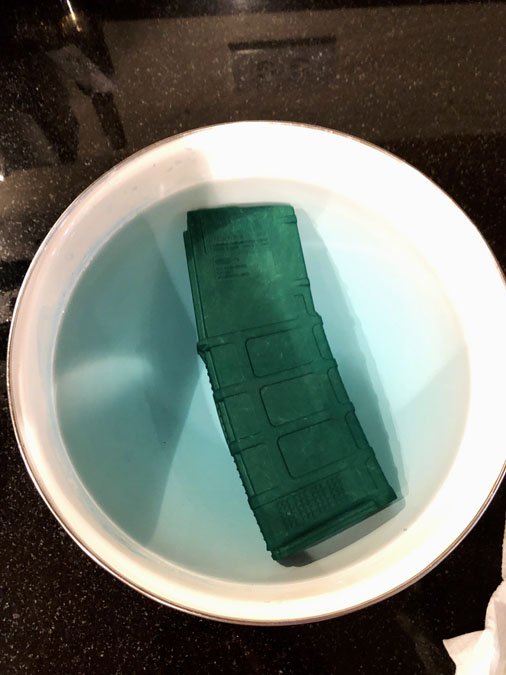
After you reached the level of color that you are happy with, use the tongs to remove the tongs and submerge them in a bowl of cool water. This washes off the excess dye and stops the coloring process. After you have washed the parts off, you can place the pieces on a pile of paper towels to dry. After the parts are dried, you can resemble the magazines with the springs and the baseplates. You are now completed! Hopefully, you were able to achieve the color you were hoping for.
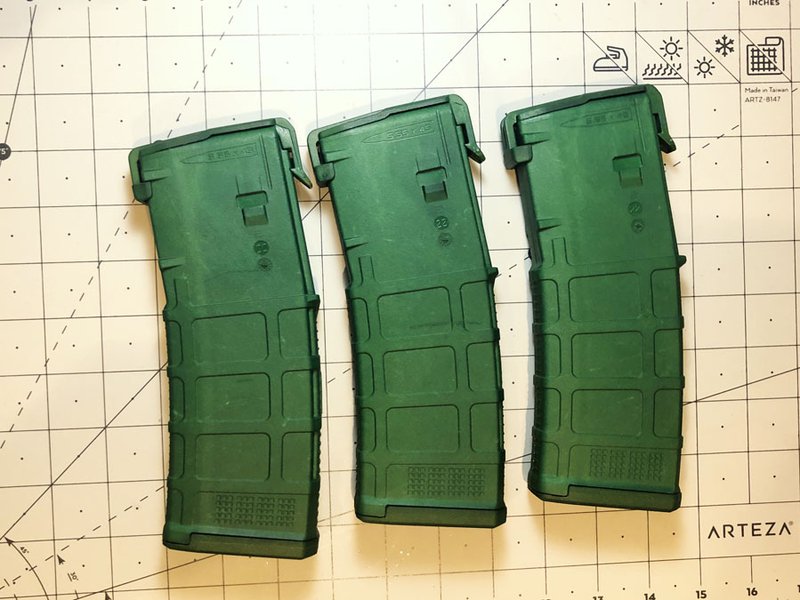
Disclaimer: It seems like it is either hit or miss when aligning the color of the finished magazine to the color on the Rit Dye bottle. I was aiming Blue/Teal color that was advertised on the bottle, and it came out more of a Forest Green type of color. Luckily I am a fan of green, so I wasn’t too concerned. But just know that you might not be achieving the exact color on the bottle, so go into this project with an open mind for the best results.
Need more mags? Compare AR-15 magazines across stores before you start dyeing.
Dye or paint? Painting a PMAG instead
Dye soaks into the polymer, so the color won't chip or flake, but you only get what the dye gives you and it works best on sand (FDE) magazines. Paint gives you any color or camo pattern on any PMAG, but it sits on the surface and wears at the edges with use. If you paint:
- Take the magazine apart and only paint the outside of the body and the floor plate.
- Clean off oil with soap and water or rubbing alcohol, let it dry, and lightly scuff the surface.
- Use a spray paint made for plastic, or a matte camo paint, in thin coats.
- Keep paint off the inside of the body, the follower, the spring and the feed lips: paint flakes there can cause feeding problems.
- Let it cure fully (follow the can, often a day or more) before loading it.
Not sure which PMAG to buy? See PMAG generations explained: Gen M2 vs Gen M3, 20 vs 30 vs 40 round.
Frequently asked questions
Can you paint a PMAG?
Yes. Paint only the outside of the body and floor plate with a paint made for plastic, keep it off the inside, follower and feed lips, and let it cure before use. Paint can chip; dye doesn't.
What do you need to dye PMAGs?
You need sand-colored PMAGs, Rit dye in your chosen color, a heat source to keep water near boiling, a dish or tray large enough to submerge the parts, tongs, a bowl of cool water for rinsing, and plenty of paper towels.
How long does it take to dye PMAGs?
The parts usually do not start taking the dye until about the 20–30 minute mark, and the full process takes roughly 40–60 minutes depending on how dark you want the color. You can always go darker, but not lighter.
Do you dye the whole magazine?
No. Disassemble the magazine first and set the springs aside — they do not go in the dye. Keep the baseplates and feed-lip protectors separated so every surface gets dyed, and make sure the parts are clean of dirt and oil.
Why dye your PMAGs?
Common reasons are color-coding magazines by caliber (so you can tell AR-9 mags from 5.56 mags at a glance), keeping your mags from being mixed up in competition, or simply for the custom look.
How do you stop the dyeing process?
Once the parts reach the color you want, use tongs to remove them and submerge them in cool water. This rinses off excess dye and stops the coloring; then dry the parts on paper towels and reassemble with the springs and baseplates.