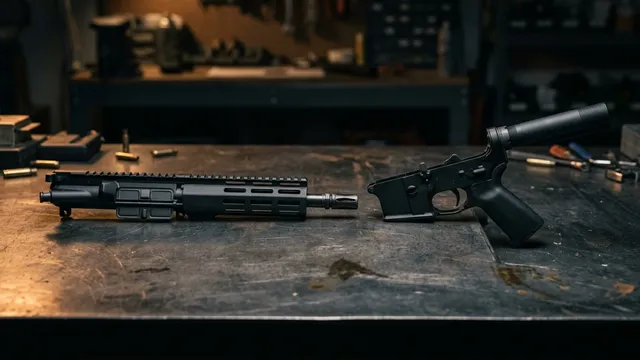
Short answer: you assemble an AR-15 lower by installing the parts from a lower parts kit into a stripped lower receiver, in this order: magazine catch, bolt catch, trigger guard, front pivot pin, trigger group, safety selector and pistol grip, then the rear takedown pin, buffer tube and stock. With a set of roll pin punches, a small hammer and an armorer's wrench, a first build takes one to two hours.
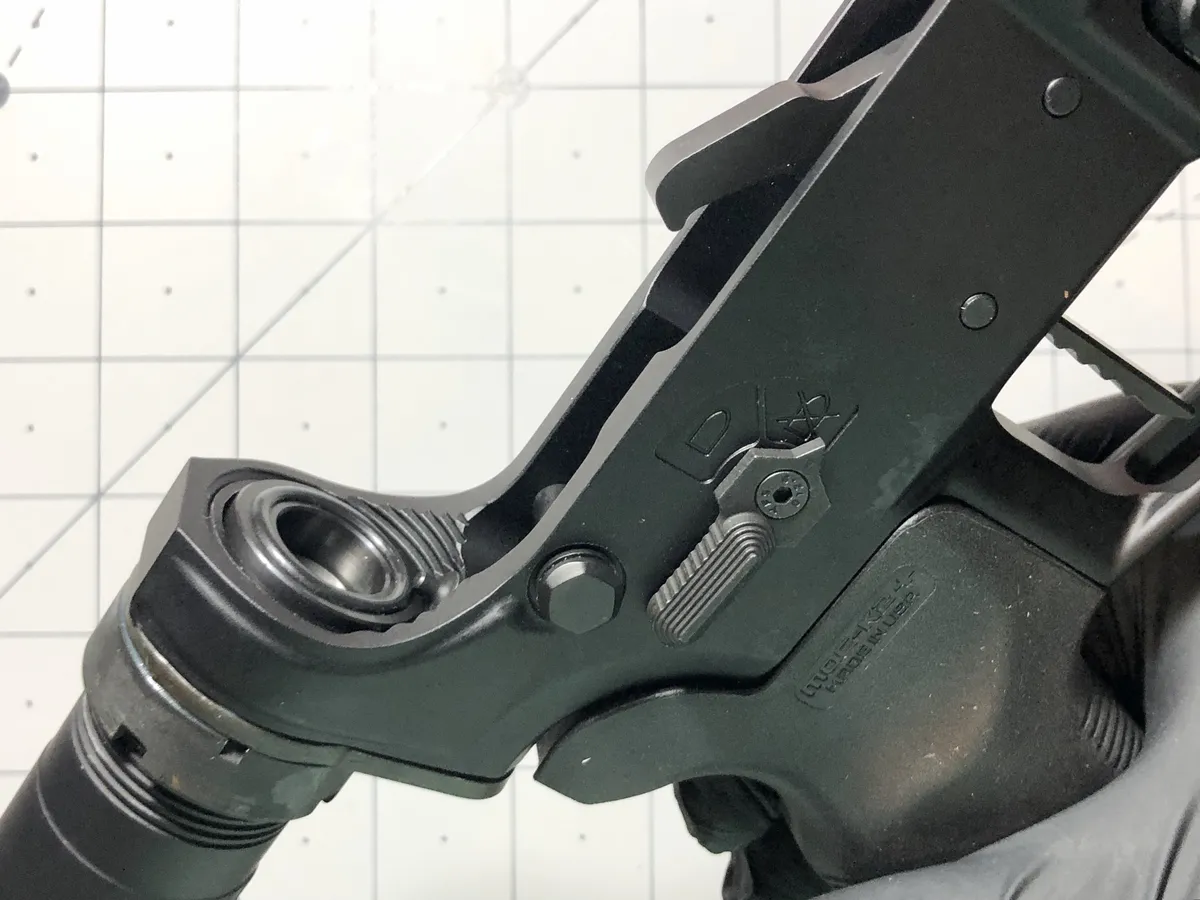
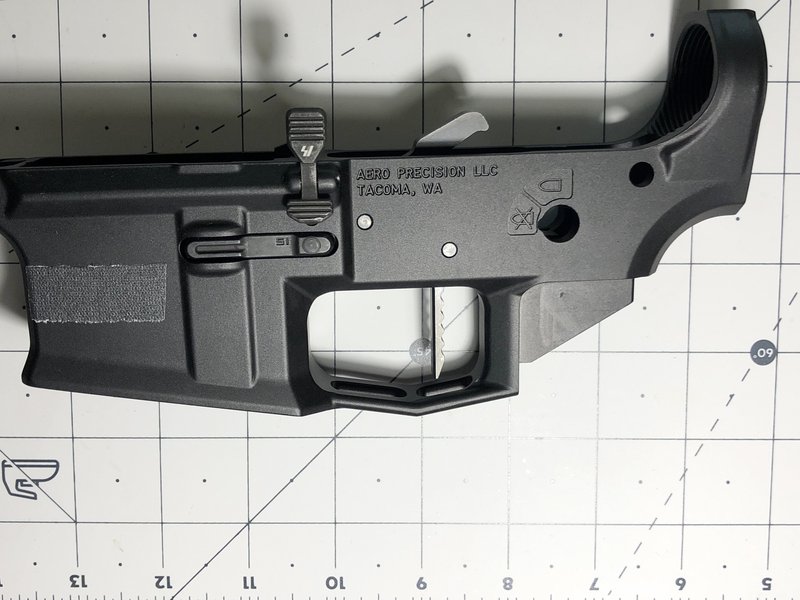
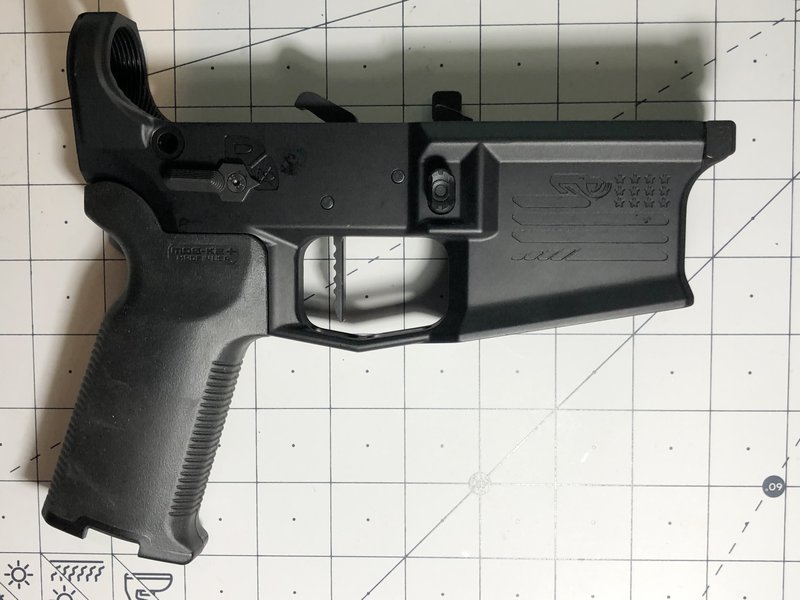
The photos below are from a real build: an AR-9 lower with a drop-in trigger, an ambidextrous selector and a pistol brace. Where a standard rifle build differs (a mil-spec trigger, a carbine stock), the text says so. The stripped lower is the part the law treats as the firearm, so it ships to an FFL dealer like any gun; the parts kit ships to your door. Check your state's laws first.
What you need
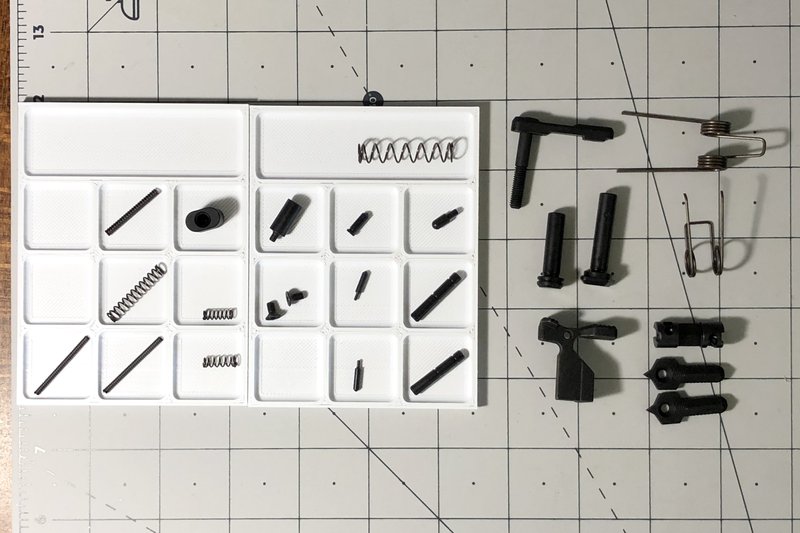
Parts: a stripped lower receiver, a lower parts kit (LPK), and a buffer kit: buffer tube, end plate, castle nut, buffer and spring (see buffer tubes and springs), plus a stock. Many kits include the trigger and pistol grip; some leave them out so you can choose your own.
| Group | Parts in a typical lower parts kit |
|---|---|
| Magazine catch | Magazine catch, spring, release button |
| Bolt catch | Bolt catch, spring, buffer (plunger), roll pin |
| Trigger guard | Trigger guard, roll pin |
| Pins | Front pivot pin and rear takedown pin, each with a detent and spring |
| Trigger group | Trigger, hammer, disconnector, their springs and two pins (or a drop-in cassette) |
| Safety | Safety selector, detent, spring |
| Grip | Pistol grip, screw, lock washer |
| Buffer retainer | Buffer retainer and spring (sometimes in the buffer kit instead) |
Tools: roll pin punches (a 1/8" punch drives both roll pins), a roll pin starter or holder, a small brass or nylon hammer, a screwdriver or hex key for the grip screw, an armorer's wrench for the castle nut, and painter's tape to protect the finish. A lower receiver vise block helps but isn't required. Work over a tray or inside a large zip-top bag: detents and springs fly.
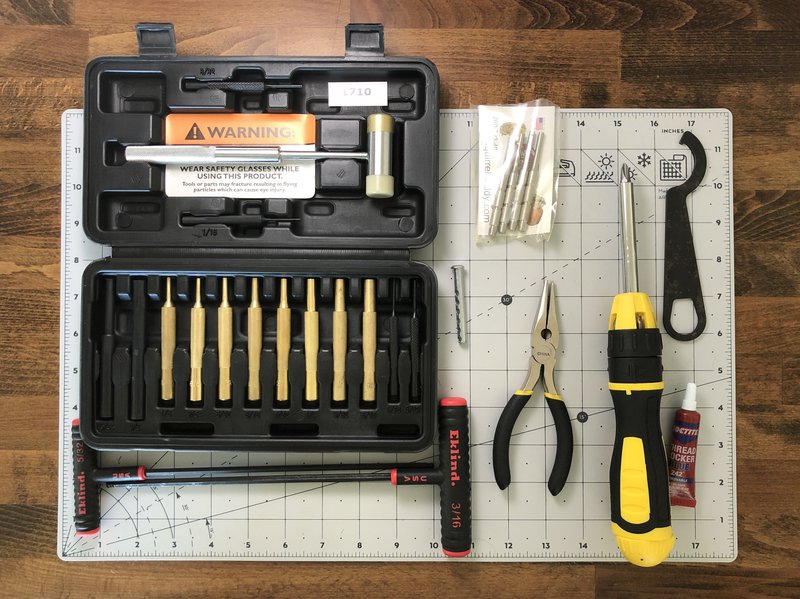
Clean the shipping grease off the parts and put a light coat of lubricant on them before you start. Tolerances are tight, but only the two roll pins should ever need a hammer. If anything else needs force, stop and check the orientation.
Step 1: Magazine catch
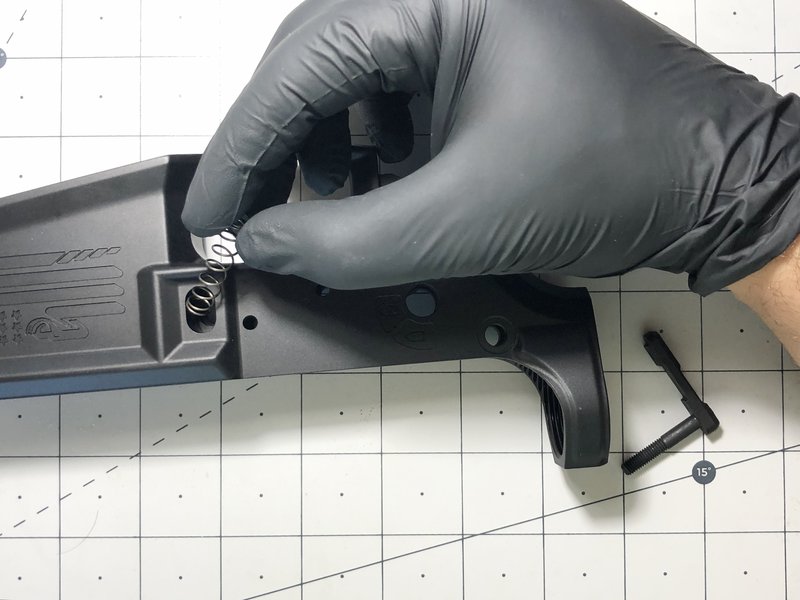
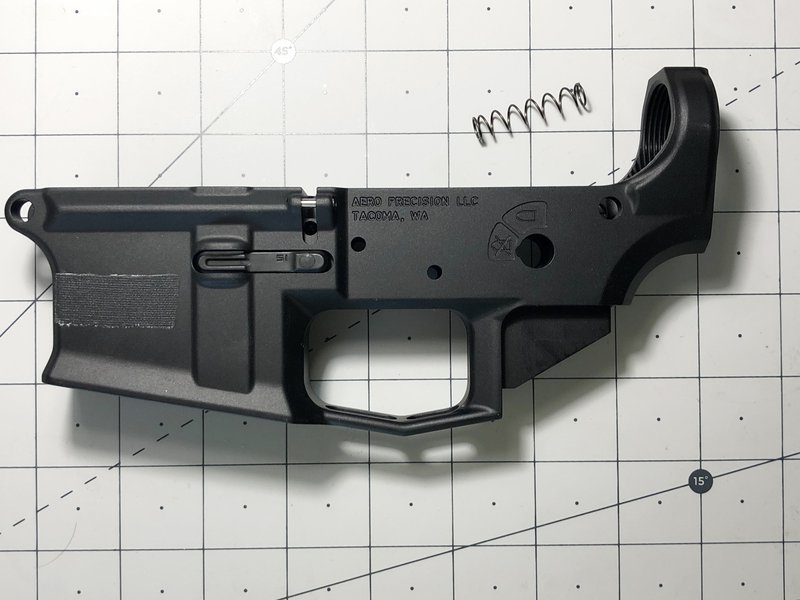
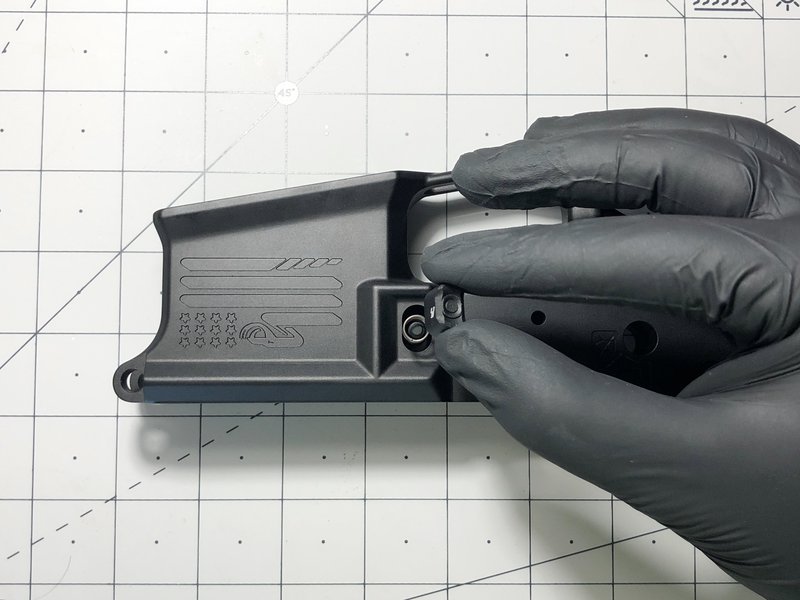
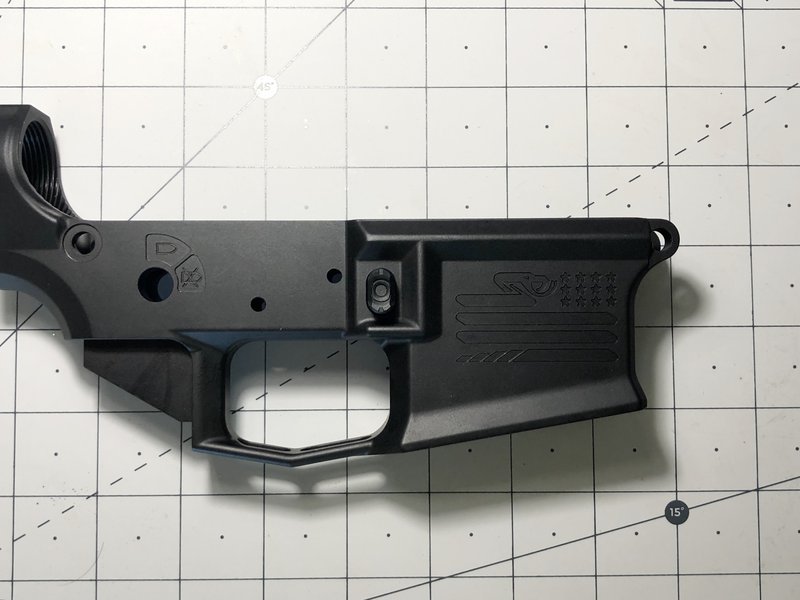
Drop the magazine catch spring into the hole on the right side of the receiver and set the release button over it. From the left side, slide the magazine catch into its slot until its threaded post meets the button. Press the button in (a punch or the tip of a pen helps) and turn the catch to thread it on. Stop when the end of the threads sits flush with the face of the button, then check that a magazine locks in and drops free.
Step 2: Bolt catch
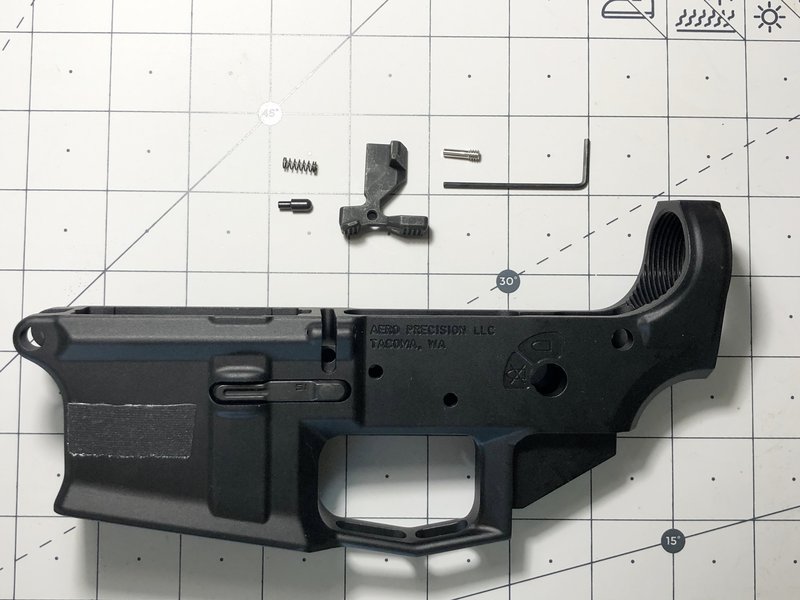
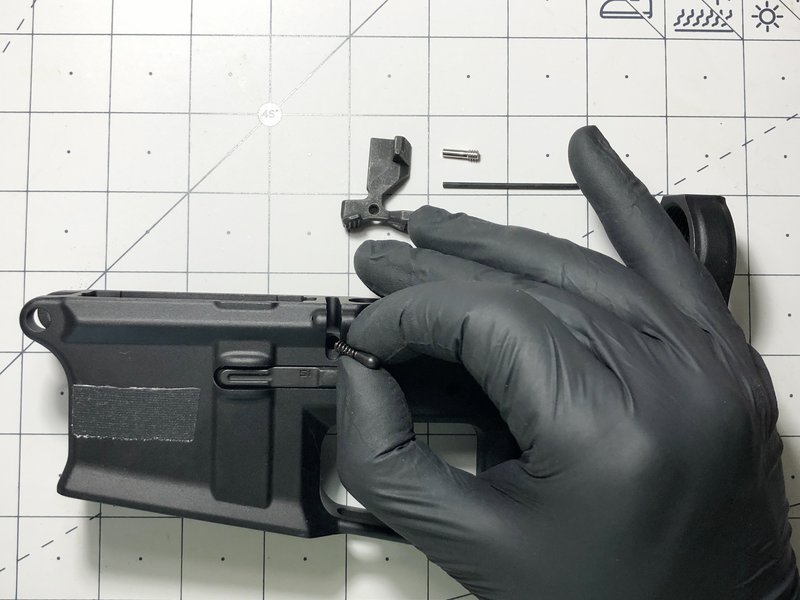
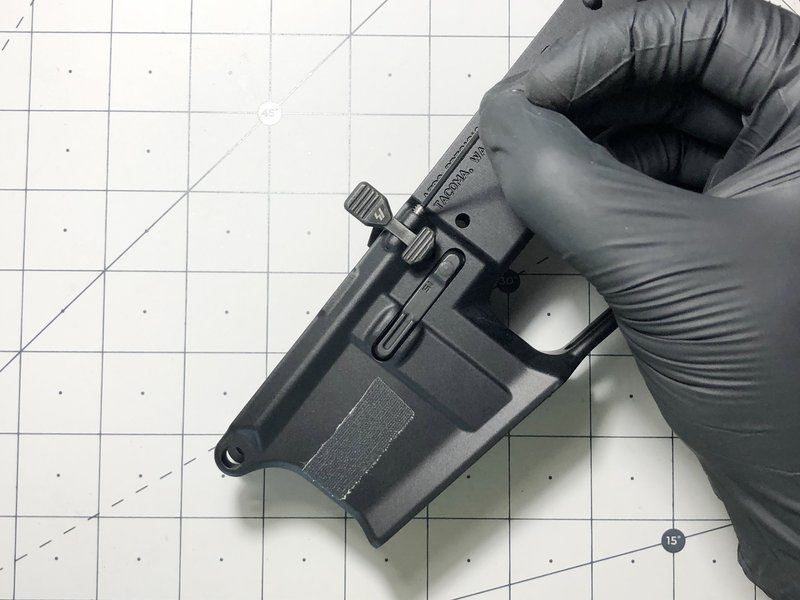
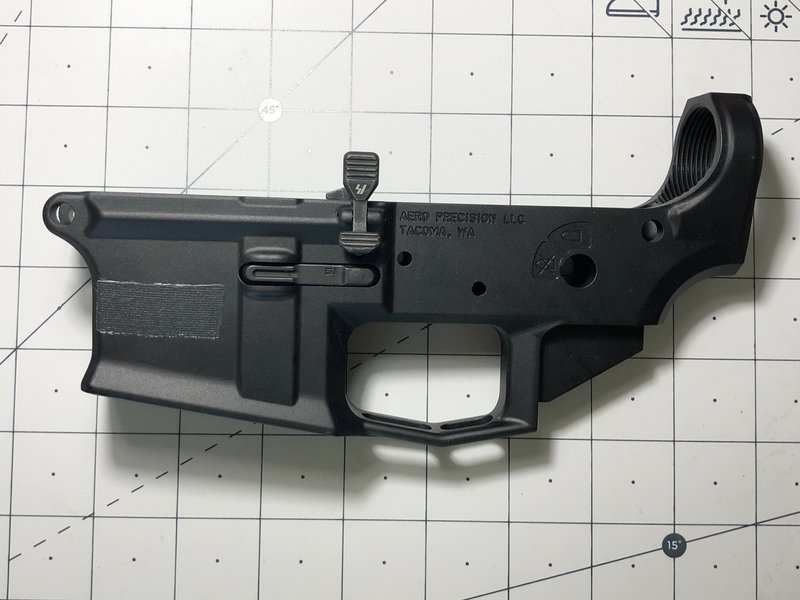
This is the step most first-timers dread. Put the spring and then the small plunger (the buffer) into the hole on the left side of the receiver, set the bolt catch over them, and line up the holes. Tape the receiver around the pin bosses, start the 1/8" roll pin with a starter punch or roll pin holder, then tap it home with the 1/8" punch. Light taps: if the pin goes in crooked, back it out and start again. The bolt catch should snap back up when pressed.
Step 3: Trigger guard
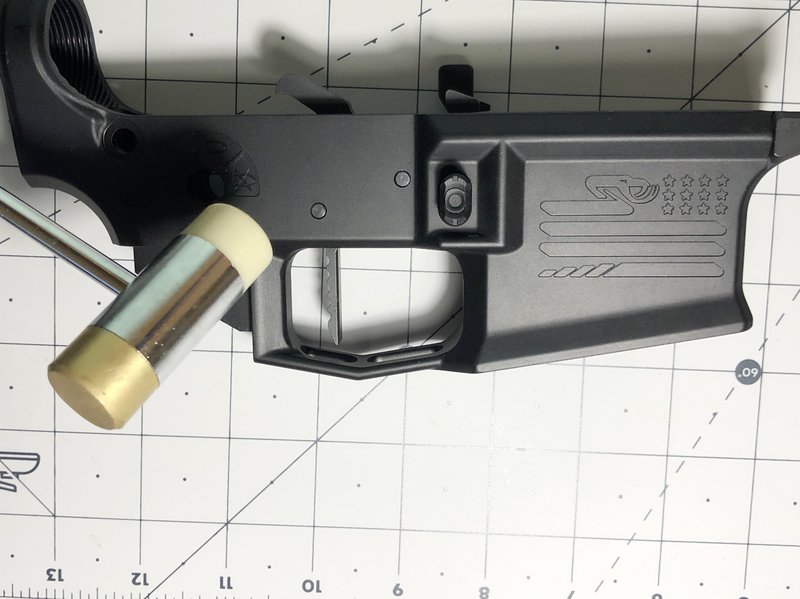
Most trigger guards pin at the rear with a roll pin and latch at the front with a spring-loaded plunger. Support the receiver's thin "ears" around the rear hole on a wood block or a book before you hammer: this is where receivers get cracked. Drive the roll pin through the ears and the guard with steady, moderate taps, then swing the guard up and let the front plunger click into place.
Step 4: Front pivot pin
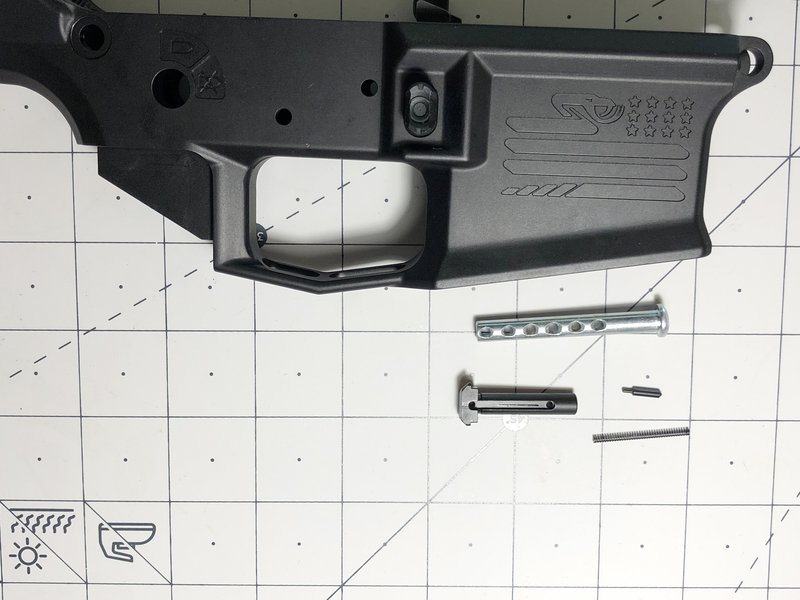
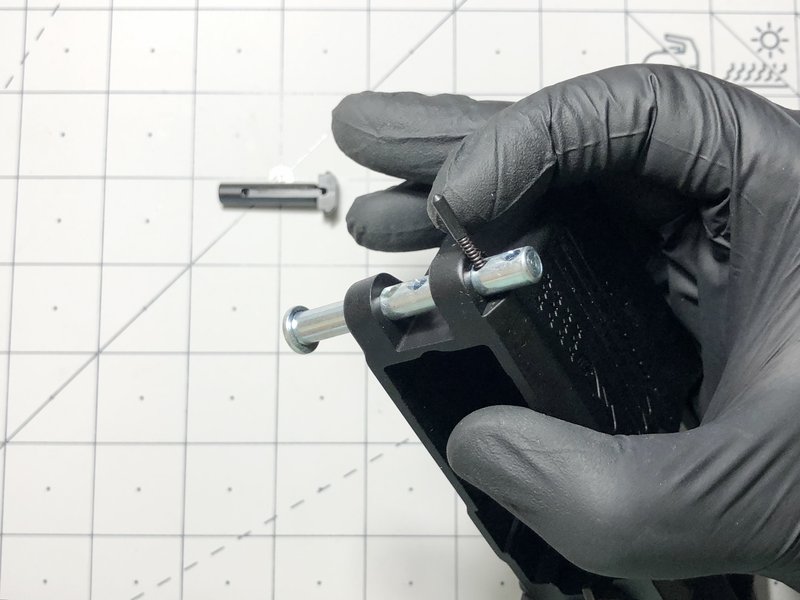
The pivot pin's detent and spring go into a small hole at the front of the receiver, then have to be held down while the pin slides in over them. A cheap trick: push a 1/4" clevis pin through the pivot holes first, drop the spring and detent into the hole in the clevis pin, press the detent down with a small hex key and rotate the clevis pin to trap it. Then push the real pivot pin in from the other side, chasing the clevis pin out, so the detent never escapes. A pivot pin install tool does the same job.
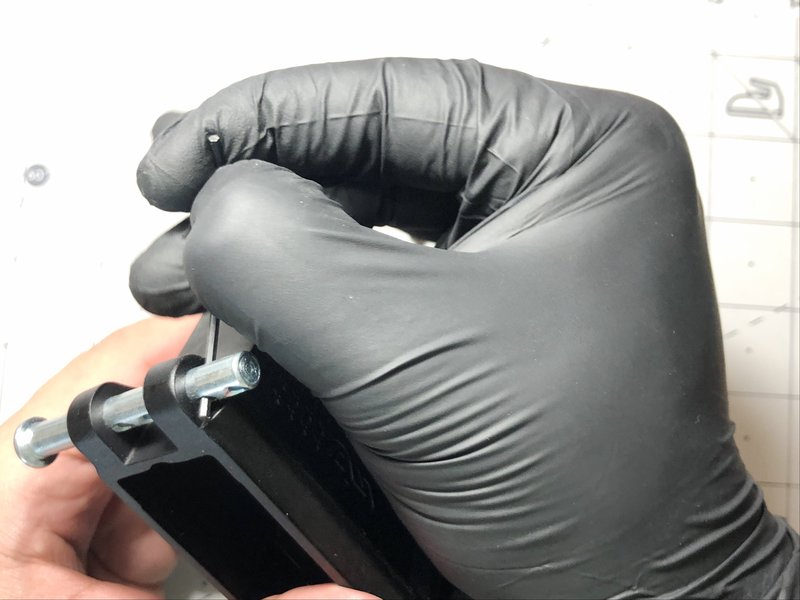
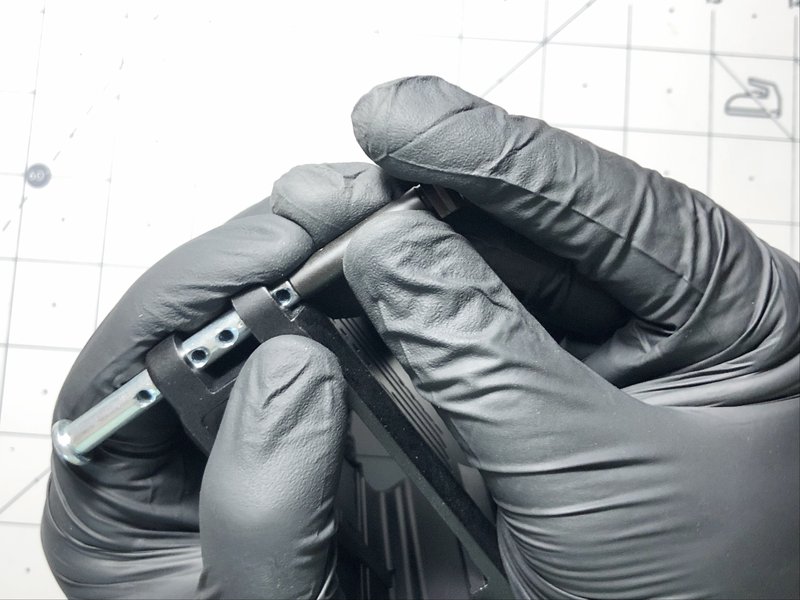
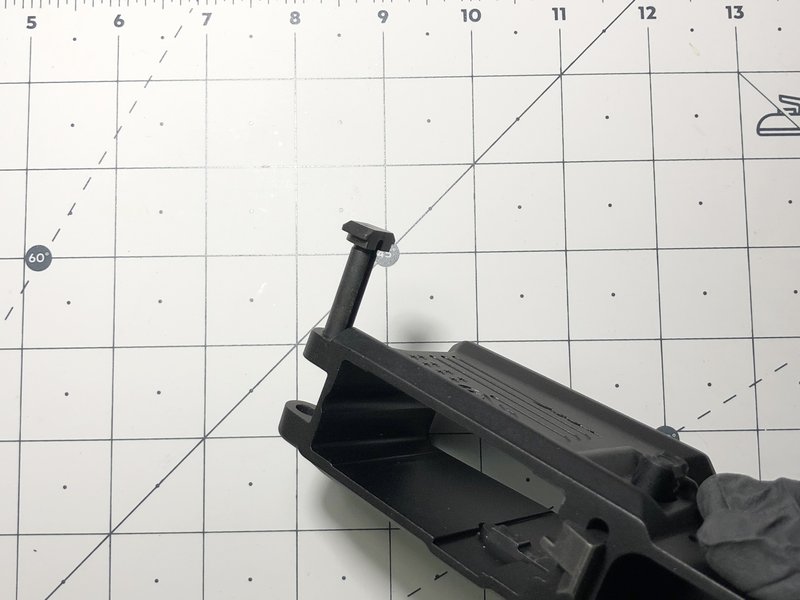
Step 5: Trigger group
Drop-in trigger (shown): set the cassette in the fire-control pocket, line up the holes, push the trigger and hammer pins through, and tighten any set screws the maker supplies.
Mil-spec trigger: put the disconnector spring in the trigger (wide end down), set the disconnector on top, and fit the trigger spring with its legs pointing forward. Lower the trigger into the receiver so the spring legs rest on the floor, and push the trigger pin through. Fit the hammer spring with its legs on top of the trigger pin, then push the hammer down and pin it. Our trigger install guide covers this step in detail.
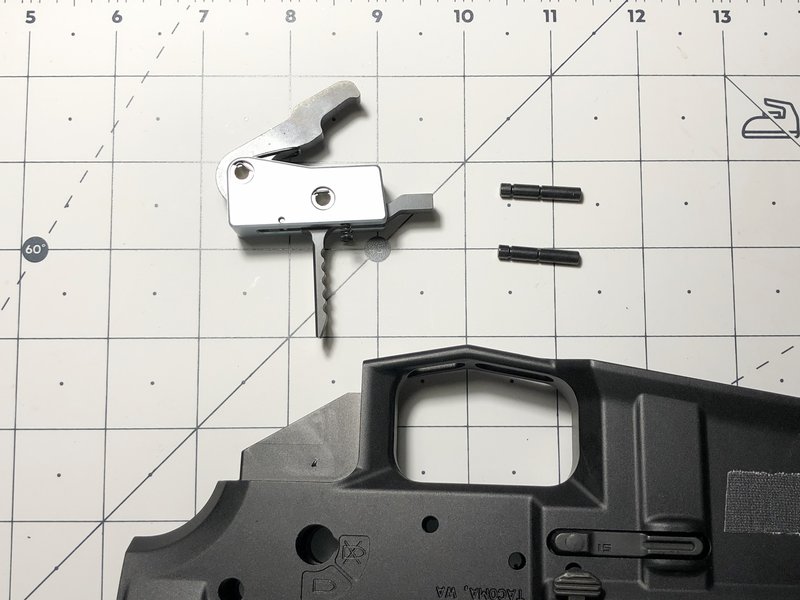
Step 6: Safety selector and pistol grip
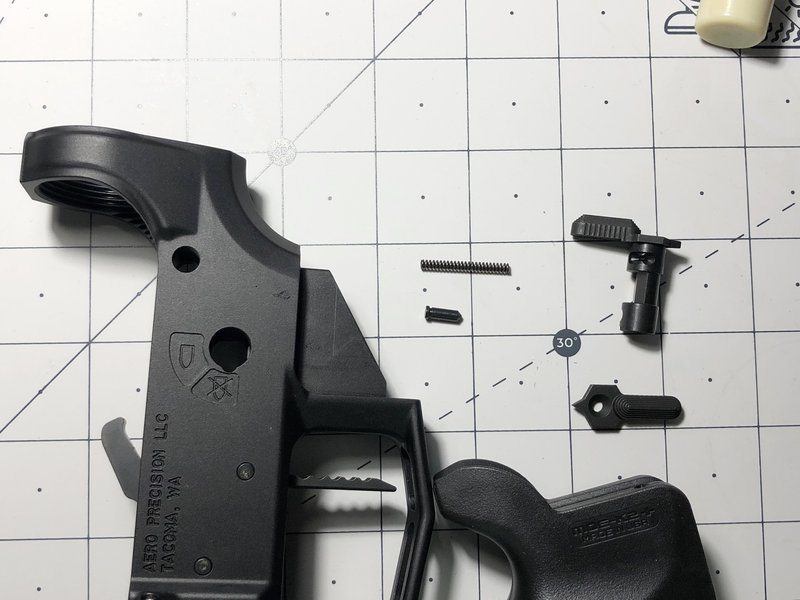
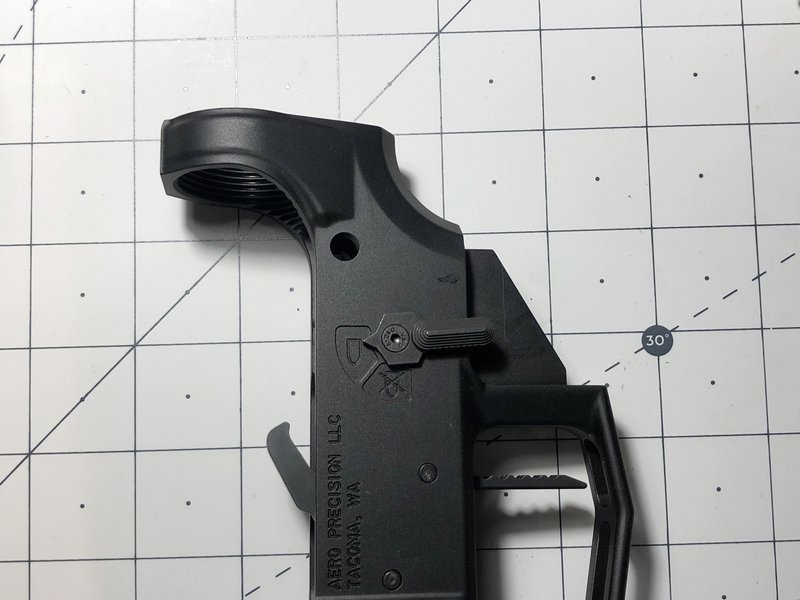
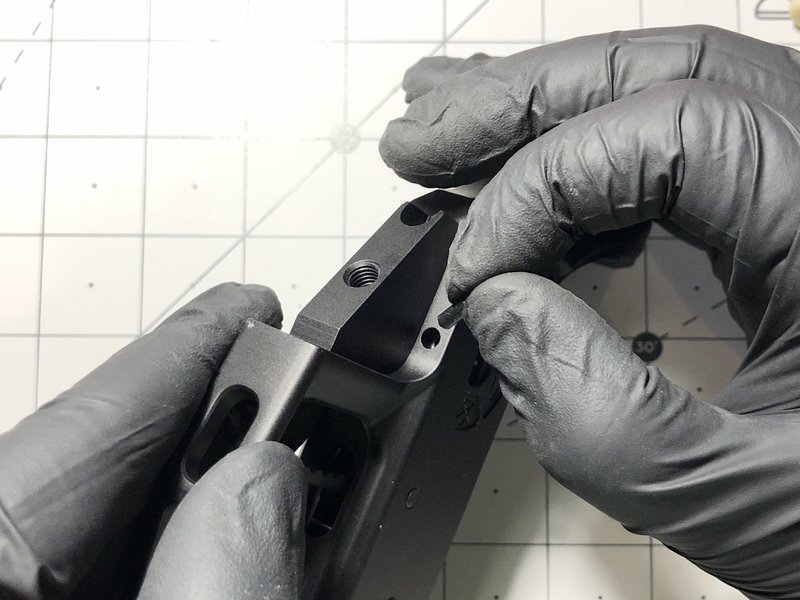
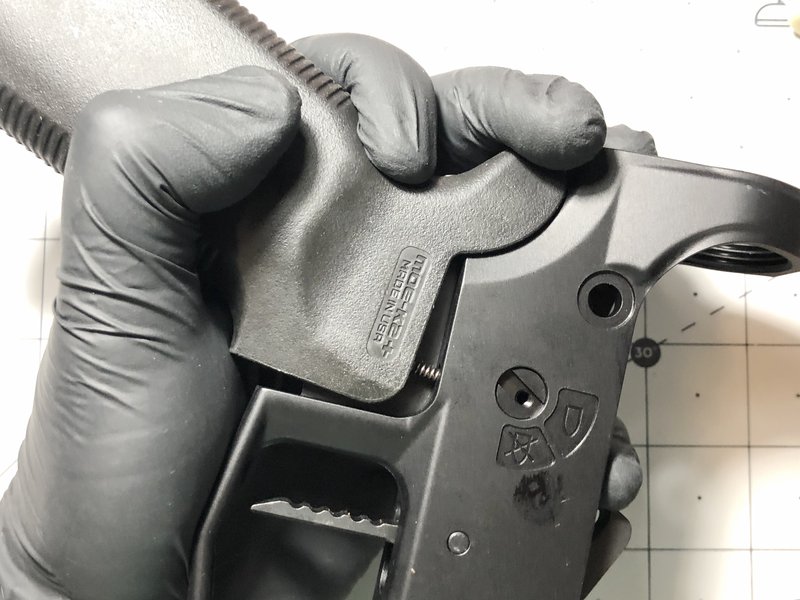
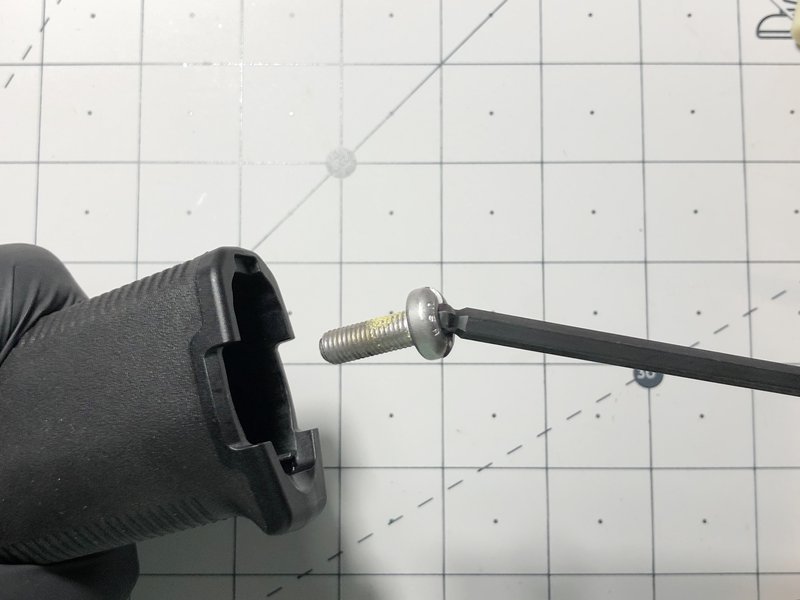
With the hammer cocked, slide the safety selector in from the left. Turn the receiver over and drop the selector detent, pointed end first, into the small hole in the grip area so it rides on the selector. Put the selector spring in the grip's spring channel, fit the grip over it, and tighten the grip screw until the grip is snug. Don't overtighten it. The selector should click firmly between safe and fire.
Step 7: Takedown pin, buffer tube and stock
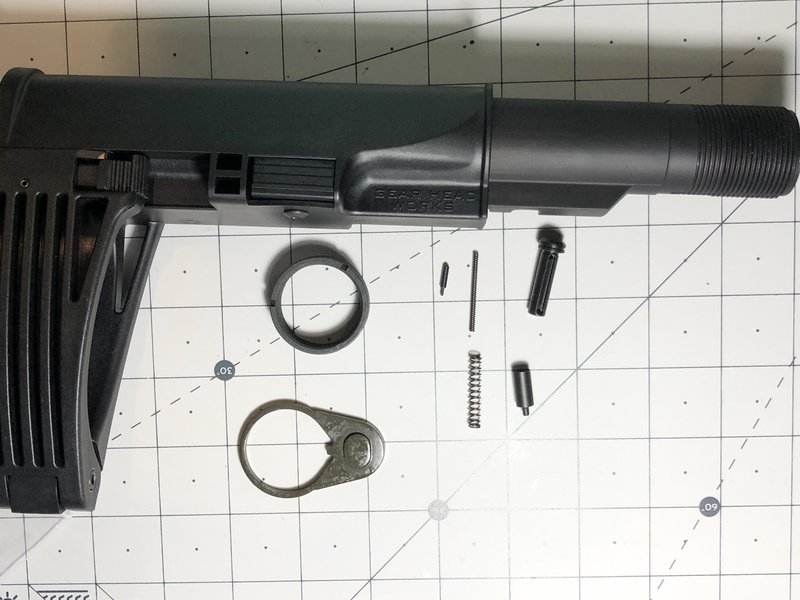
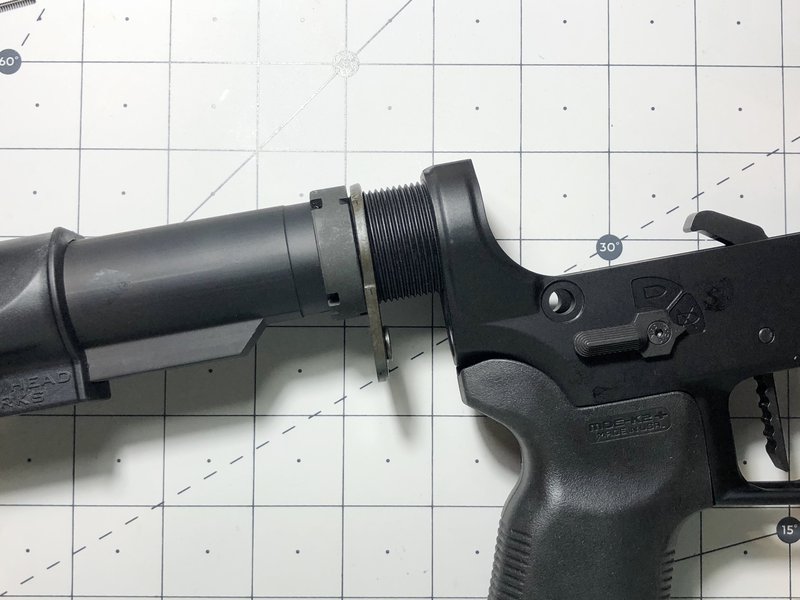
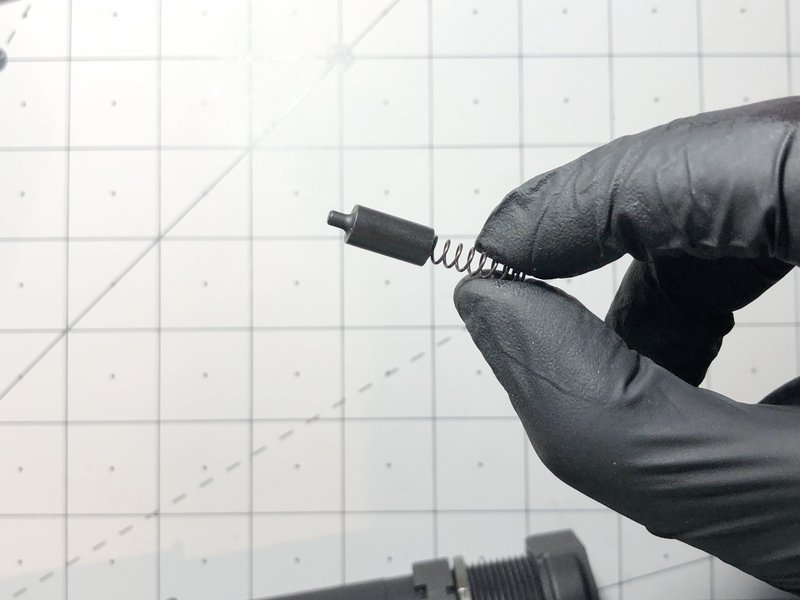
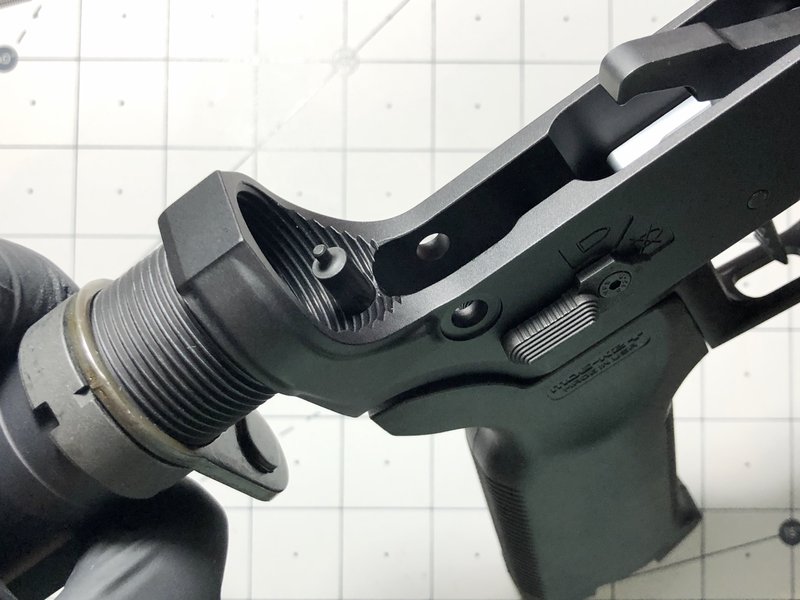
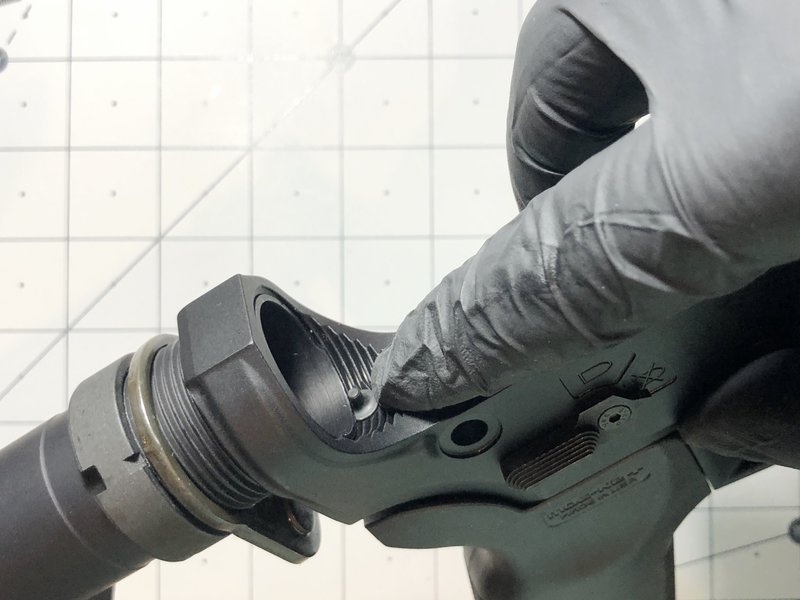
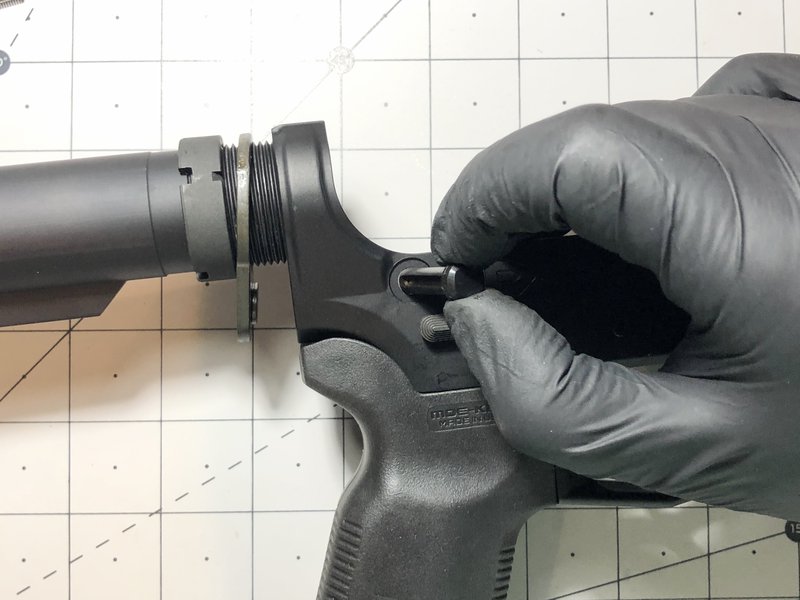
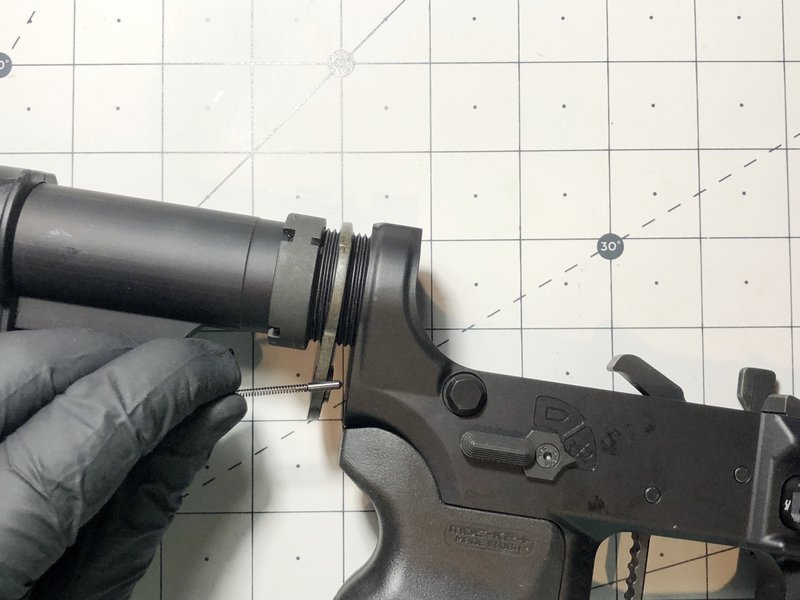
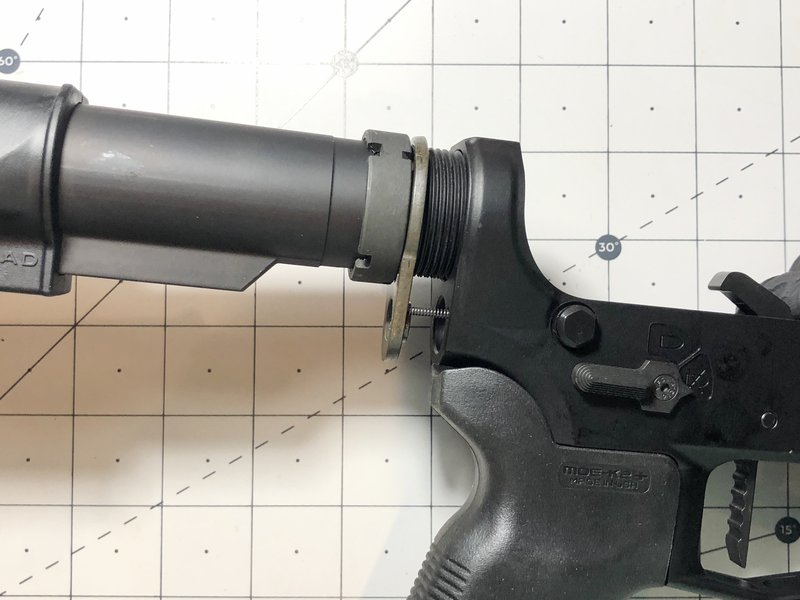
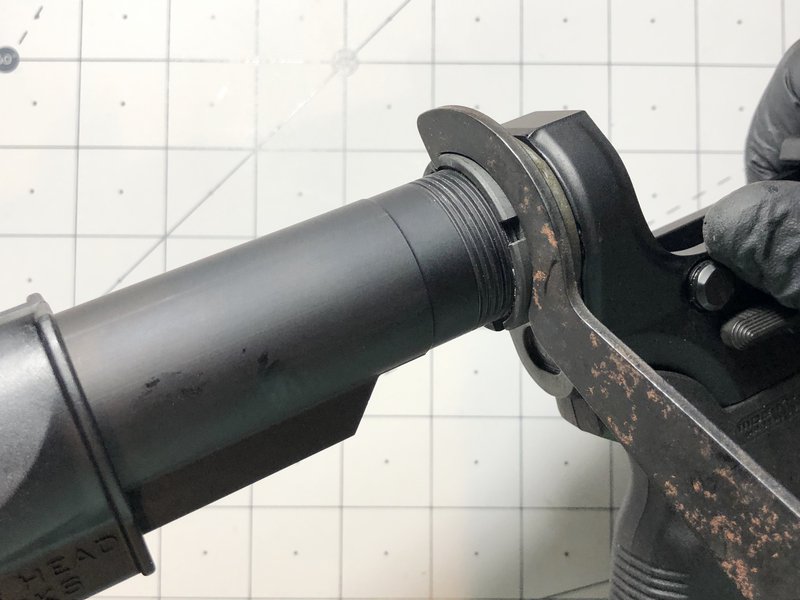
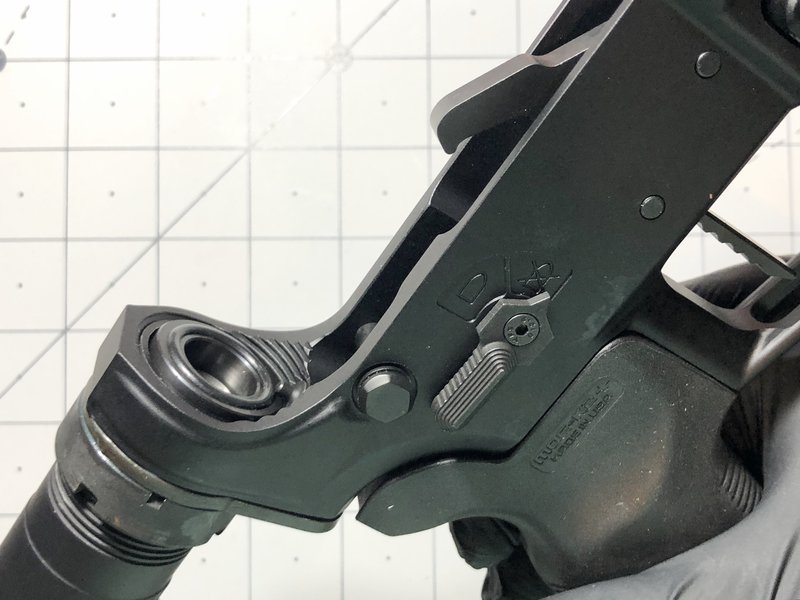
Put the buffer retainer spring and then the retainer into the hole in front of the receiver threads, and push the rear takedown pin into place. Thread the castle nut and end plate onto the buffer tube, then thread the tube into the receiver until its edge just covers the lip of the buffer retainer: the retainer should still pop up when pressed.
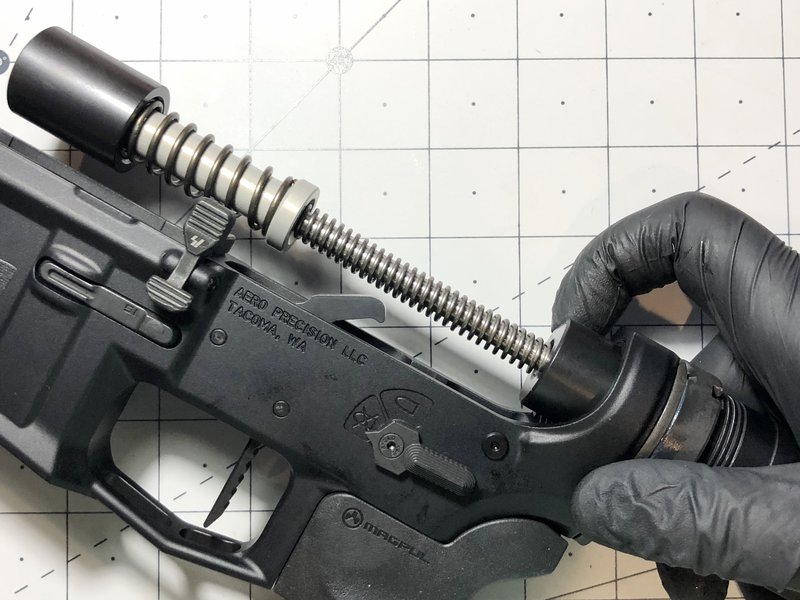
Drop the takedown detent and its spring into the small hole at the rear of the receiver, slide the end plate forward to trap the spring, and tighten the castle nut with the armorer's wrench, about 35-40 ft-lb (see our torque specs). Many builders stake the castle nut so it can't back off. Finally slide the buffer spring and buffer into the tube and fit the stock. Mil-spec and commercial tubes take different stocks, so check yours: mil-spec vs commercial buffer tubes.
Step 8: Function check
Do this before the lower ever meets an upper, and catch the hammer with your thumb so it doesn't slam into the empty receiver. Cock the hammer and put the selector on safe: pulling the trigger must not drop the hammer. Switch to fire and pull: the hammer falls. Keep holding the trigger, cock the hammer again, and slowly release the trigger: you should hear a click as the disconnector hands the hammer back to the trigger, and the hammer must stay cocked. If any check fails, take the trigger group out and check the springs.
Common mistakes
- Lost detents and springs. Work in a bag or tray, and keep each spring with its part.
- Cracked trigger guard ears. Support them before driving the roll pin.
- Scratched receiver. Tape around the bolt catch pin and use a brass or nylon hammer.
- Buffer tube too far in. It should hold the retainer, not cover it.
- Trigger springs backwards. Trigger spring legs forward on the floor, hammer spring legs on top of the trigger pin.
Lower parts kits compared
Today's prices across the stores we track. Want to plan the whole rifle? Add parts to the AR-15 builder, which checks they fit, or see the full how to build an AR-15 guide.
KAK Industry complete lower parts kit
Pros
- Everything included, grip and trigger too
- Low price
Cons
- Basic mil-spec trigger
The budget all-in-one kit.
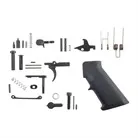
CMMG AR-15 lower parts kit
Pros
- Well-known maker
- Sold at 8 stores
Cons
- Standard parts, no upgrades
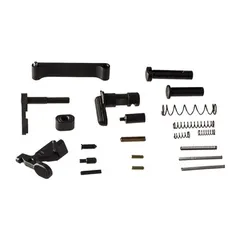
Geissele mil-spec lower parts kit
Pros
- Geissele quality control
- Mil-spec trigger included
Cons
- Costs a little more
A solid base you can upgrade later.
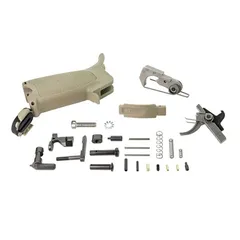
BCM Gunfighter enhanced lower parts kit
Pros
- Upgraded Gunfighter grip and controls
- Enhanced trigger guard
Cons
- Most expensive here
Wondering about 80% lowers? Read 80% lowers explained for the law in 2026.
Frequently asked questions
How long does it take to assemble an AR-15 lower?
About one to two hours the first time, mostly spent on the bolt catch and pivot pin. A second lower often takes under 45 minutes.
What is the hardest part of building an AR-15 lower?
Driving the bolt catch roll pin, and trapping the pivot pin detent. A roll pin starter and the clevis pin trick make both much easier.
What tools do I need to assemble an AR-15 lower?
Roll pin punches (1/8"), a roll pin starter, a small brass or nylon hammer, a screwdriver or hex key for the grip, and an armorer's wrench for the castle nut. A vise block is helpful but optional.
Does a lower parts kit include the trigger?
Most complete kits include a mil-spec trigger group and a pistol grip. Kits sold "less trigger" or "less grip" leave them out so you can fit an upgrade.
Do I need an FFL to build an AR-15 lower?
You buy the stripped lower through an FFL dealer because it is the serialized firearm. The parts kit, buffer kit and stock can ship to your home. Check your state's laws first.